
Golf Cart Battery Maintenance: What Can Golf Cart Battery Light Tells You?
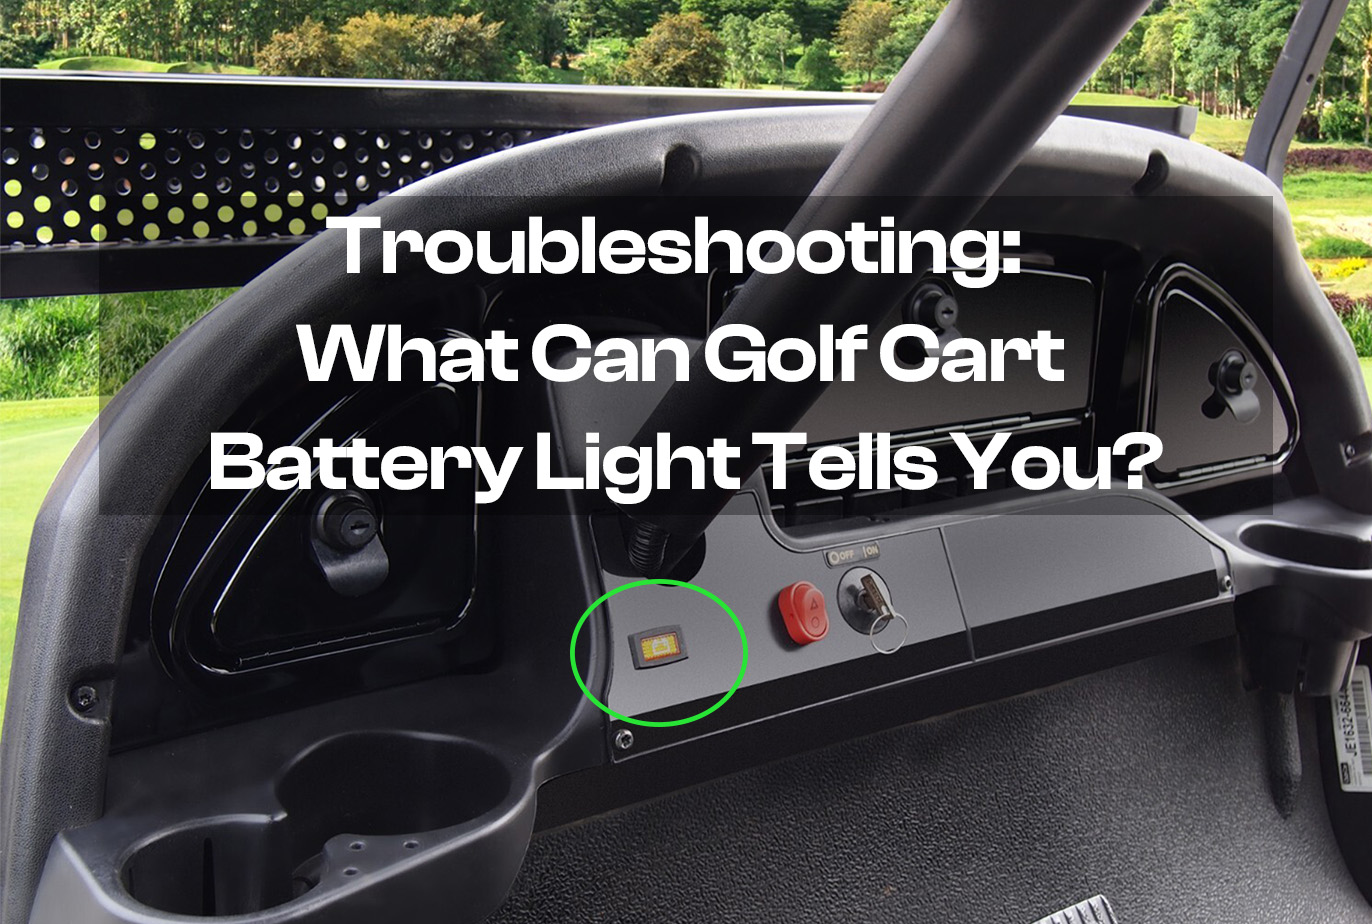

For any electric golf cart owner, a healthy battery pack is the lifeline of every round and errand. While most of us glance at the basic battery light, few realize that when paired with the advanced Communications Display Monitor (CDM), it transforms into a powerful diagnostic tool. This light is more than a simple "good/bad" indicator; with CDM reading capability, it provides real-time, actionable data about your battery's state of charge, health, and performance.
This guide will show you exactly how to use this duo to move beyond guesswork. We'll cover:
> Tool Introduction
> How to Operate & Read Data on CDM
> CDM Function Code Reference
Tool Introduction: Golf Cart Battery Light with CDM Reading Capability
Get acquainted with your dashboard's dynamic duo. We'll explain the specific role of the battery light with CDM capability and what the Communications Display Monitor (CDM) is, and why their partnership is so powerful for proactive maintenance.
DRIVE UP golf cart battery light is the exact replacement for OEM. It's an important part of the golf cart computer system and does more the tell when you need to charge your cart. It’s the carrier of your electric cart’s battery data.


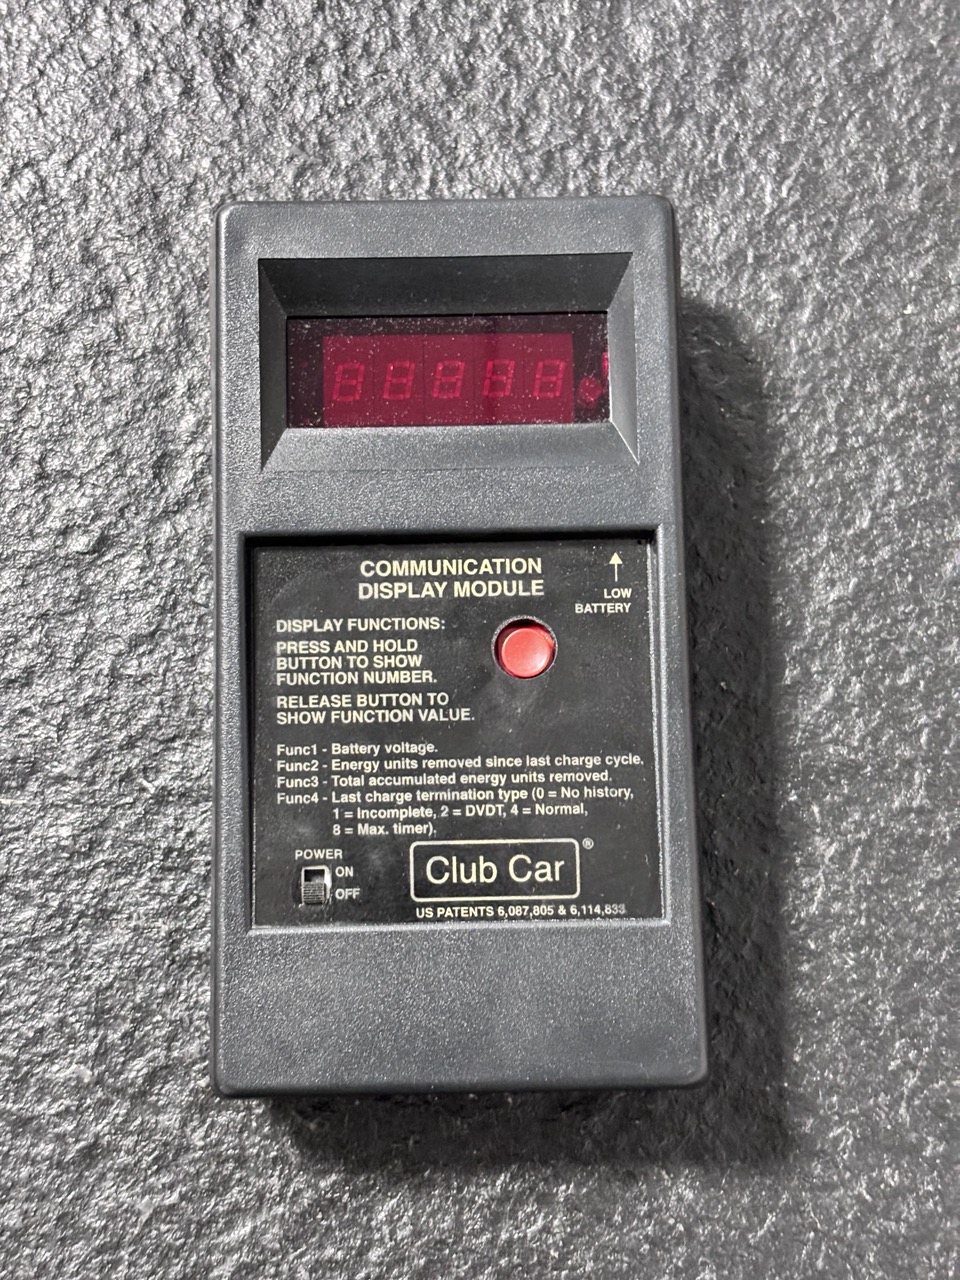
The Communications Display Monitor (CDM) is a diagnostic tool that retrieves four key data points from the golf cart’s computer. This information is critical for troubleshooting the 48-volt battery and powertrain system.
The CDM has its own low battery indicator. If this light is on, replace the CDM's batteries immediately. A weak battery can cause incorrect data readings or a complete failure to operate.
The CDM has its own low battery indicator. If this light is on, replace the CDM's batteries immediately. A weak battery can cause incorrect data readings or a complete failure to operate.

How to Operate & Read Data
Go step-by-step through the process. Learn how to navigate the CDM menus to access the battery diagnostic screens and, crucially, how to interpret the real-time voltage, state-of-charge, and system status data it provides alongside your battery light's signals.
Step 1: Power on the CDM.
Step 1: Power on the CDM.
Step 2: Align the CDM with the battery warning light under the seat, ensuring a clear line of sight for the infrared sensor. (If data isn't received, try holding the CDM about 6 inches away from the light).
Step 3: Wait approximately 30 seconds for the data to appear on the screen. (If reading fails, try adjusting the orientation/distance)
Step 4: Once data is displayed, you can remove the CDM. It will retain the F1-F4 values until it is powered off or used to read another vehicle.
To View Stored Data:
The device defaults to showing the F1 value. Press and hold the function button until "Func 2," "Func 3," or "Func 4" appears, then release to cycle through and view the corresponding values.
The device defaults to showing the F1 value. Press and hold the function button until "Func 2," "Func 3," or "Func 4" appears, then release to cycle through and view the corresponding values.
Function Code Reference: Understanding What it Means
Become fluent in your cart's language. This section will serve as a practical reference for common and critical CDM function codes or alerts related to the battery and charging system, explaining what each one means and the recommended action to take.
Here is what each function code means and how to interpret the data:
F1 – Battery Voltage
What it is: The real-time state of charge.
How to Interpret: Should read at or above 48V. A reading below 48V indicates the battery needs charging. If it reads only 48V immediately after a full charge, there is likely an issue with the charging circuit. (A fully charged battery should read slightly above 48V under normal conditions)
Recommend Action: Check your charger and the charging circuit
F2 – Energy Used Since Last Charge
What it is: The number of energy units consumed since the last charge cycle.
How to Interpret: If the value exceeds 75 (and the battery warning light should be on), the battery requires charging. This data helps fleet managers balance short-term usage across all vehicles, and prevent any vehicle from being overused or underutilized.
F3 – Total Accumulated Energy Used
What it is: The total energy units consumed over the vehicle's lifetime.
How to Interpret: Used for monitoring long-term usage to ensure even wear and tear across a fleet.
F4 – Type of the Last Charge Interruption
What it is: The reason the previous charging cycle ended.
How to Interpret:
Code 1 (Insufficient):
The previous charge was incomplete. Recharge the battery as soon as possible.
Code 2 (Delta V/Delta T DVDT):
The vehicle computer used a backup charging algorithm to complete the cycle. This can occur a few times with new batteries or if the battery was disconnected during charging. Frequent occurrences indicate a potential problem.
Code 4 (Normal):
The previous charge completed successfully under standard conditions.
Code 8 (Max Time):
The charger ran for 16 hours and shut off automatically without completing the charging cycle. This strongly indicates a fault in the charging circuit.

Having and understanding how to read your golf cart's battery light with CDM capability is not just about troubleshooting—it's about taking control of your cart's performance, ensuring reliability, and protecting a significant investment. Let's get started and turn those blinking lights into clear insights.